What a proper drywall job looks like (and how to spot a bad one)
By Royce Soon · Updated 2026-07-15
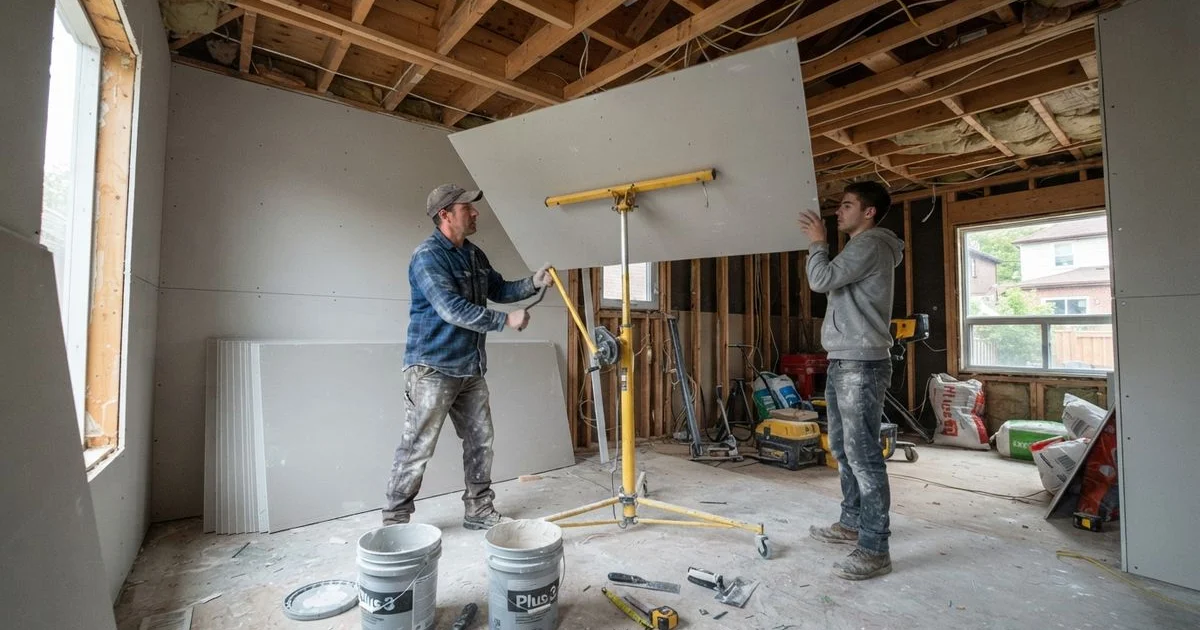
Toronto Renovation Guide hears from GTA homeowners regularly that drywall work looks simple from a finished, painted wall, which is exactly why it’s easy to underestimate. A rushed drywall job doesn’t usually show its flaws until months later, when seams telegraph through paint or nail pops appear along a ceiling line. Knowing what a proper job looks like helps you catch problems before they’re covered in primer.
How the process actually goes
| Stage | What happens |
|---|---|
| Hanging | Sheets are measured, cut, and screwed to studs or ceiling joists |
| Taping | Joint tape is embedded in the first coat of compound over every seam |
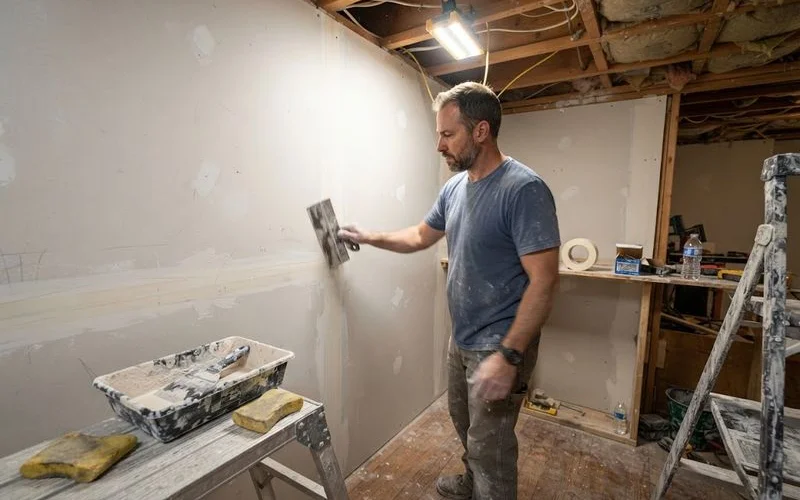
| Mudding | Two to three additional coats of joint compound, each sanded once dry |
| Sanding | Final smoothing pass across all seams and fastener spots |
| Priming | A dedicated primer coat before any finish paint |
Skipping steps, especially the number of mud coats or drying time between them, is the most common shortcut that shows up later as visible seams or texture.
Finish levels, explained
Drywall finish is quoted in levels, from Level 0 (unfinished) up to Level 5. Most homes use Level 4, suitable for flat or eggshell paint in normal lighting. A Level 5 finish adds a thin skim coat over the entire surface, not just the seams, and is worth the extra cost in rooms with harsh side lighting or glossy paint, where every small imperfection in a lower finish level becomes visible.
Materials that matter more than they seem
Not all drywall is the same. Moisture-resistant board belongs behind tile in bathrooms and around any wet area, standard board does not. Fire-rated drywall is required in specific locations, like between an attached garage and living space, under most building codes. A contractor cutting corners on material selection to save a small amount on cost can create a problem that only surfaces much later, when moisture damage or a code inspection reveals the wrong board was used.
Repairs vs full replacement
Not every drywall problem needs a full teardown. A water stain from an old, since-fixed leak, a small crack from settling, or a section damaged during another renovation can often be cut out and patched, then blended into the surrounding texture and finish level. The skill in a repair is in the blending: matching texture, feathering the joint compound wide enough that the transition disappears under paint, and priming the patch so it doesn’t absorb paint differently than the surrounding wall.
Signs of a rushed job
Visible seams or a slight ridge where two sheets meet usually means too few coats of compound or not enough sanding. Nail or screw “pops,” small raised bumps where a fastener works its way through paint over time, often mean the fasteners weren’t set deep enough or dimpled properly during hanging. Uneven texture between patched and original sections is a common sign when repair work wasn’t blended and sanded to match the surrounding wall.
Drying time and why rushing hurts the result
Each coat of joint compound needs to fully dry before the next one goes on and gets sanded, and drywall crews that skip this to hit a tighter schedule are the most common source of the seams-showing-later problem. Humidity and temperature in the room affect drying time too, so a basement or an addition finished during a damp season may need extra time between coats compared to a typical interior room. A contractor who builds this drying time into the schedule upfront, rather than treating it as a step to compress, is usually the one whose walls hold up. If drywall is just one stage of a bigger job, our guide to finishing a basement step by step covers the permits and timeline around it.
DIY vs hiring a pro
Small patch repairs, a doorknob hole or a small crack, are reasonable for a confident DIYer. Full room or whole-home drywall, especially anything aiming for a smooth Level 5 finish, is worth hiring out. The difference in the final look between an amateur and a skilled finisher is usually most visible exactly where you’d notice it most: large open walls under good light.
Contractors in our drywall category are scored in part on workmanship quality and how consistently their finished work holds up over time, which our methodology explains in more detail.
A good drywall job is invisible. If you can see where the seams are once the paint is dry, something in the process was skipped.
FAQ
- How long does drywall take to install in an average room?
- Hanging drywall in a standard room can take a day or two, but taping, mudding, sanding, and letting each coat dry properly usually stretches the full job to about a week.
- What is a Level 5 drywall finish?
- It's the highest finish standard, where every joint and fastener is fully covered and sanded smooth before paint, typically used where walls will be lit dramatically or finished in a high-gloss paint that shows imperfections easily.
- Why do drywall seams sometimes show through paint later?
- This usually happens when joint compound wasn't applied in enough coats or sanded properly before painting, or when the wrong finish level was used for the lighting conditions in the room.
- Can I paint over new drywall right away?
- Only after a proper primer coat, since raw drywall and joint compound absorb paint differently, which causes an uneven, patchy look known as flashing if skipped.